Showing posts with label paper decorations. Show all posts

Saturday, November 3, 2012

birthday

My "little" girl turned ten this week, a big mile-stone and she was very excited and pleased with herself for getting to such a great age.
 My other daughter bought her a cup-cake stand (pink!) as a present.  I have wanted one of these for quite some time, but no-one bought me one.  We now have one in the house, but I shan't be allowed to use it.
 My other daughter also made her cup-cakes to put on it and made decorations out of paper to stick on top of the chocolate cake that I made as her birthday cake.  It is a depiction of the family: Me, my husband and big sister, and a nice flower.
She got other cool pressies and had a sleepover swimming pool party, ate too much unhealthy food and felt quite poorly.  It is quite amazing how much noise six small girls can make inside a car on the journey between the swimming pool and home.


Sunday, December 11, 2011

home-made eco christmas tree tutorial.

I have finally managed to finish the tree.  It has taken a while as its construction time has been broken up with taking the girls to the pool, christmas shopping, and possibly other stuff that I can't remember. It is bamboo and has taken on many aspects of images searched over the internet in previous post.  I possibly would have made it like this anyway, but it is hard to say.
 (above) working it out as I go along, and attractive shots of the garage floor, which is actually visible now it has had a tidy up.  I will attempt to write down the process in a coherent manner, if you don't understand it let me know and I will try to remedy this.
Construction:
1. cut bamboo pole for central trunk.  (I got my husband to cut them using a circular saw as bamboo will split if I use my sectres or loppers)
2.   cut lateral branches, work out width of bottom of tree and top of tree and graduate lengths of branches inbetween.  I used 30 laterals (see picture below)
3.  I measured out evenly 30 holes on the trunk of tree, working from between where the top branch and the bottom branch begin.  I placed each hole slightly around the trunk from the previous one so that the branches are well dispersed. Drill through from one side to the other.
4.  drill 2 holes side by side on the centre of each lateral branch.(the distance between the holes is relative to how thick the central trunk is 
(above) bit more like it.  My 9 year old was decidedly unimpressed at this point, and who could blame her?  My 12 year old said "You could just be normal" (she is nearly a teenager)
5.  Using wire, push length about 20cms/4.5inches through trunk holes and then each end through each hole in lateral branch and wrap around branch.  Start at bottom and work way up to top branch.  
 Hooray!  I ran out of wire last night, which was a good thing as the wire we had was a bit thick and hard to bend around.  New wire was quick and easy, my husband drilled a large hole in a macrocarpa sleeper to stand the tree in.  
 It's mimimalist appearance actually worked quite well with our colourful over the top decorations.  The paper chinese lanterns were an experiment by Nine Year Old and at first looked a bit dodge, but I think they work well now it's all finished.
 Its like an explosian went through the pink sparkley decoration department.  I like it.

Need something a bit bigger and shinier for the top of the tree, but that can soon be remedied.

Tuesday, November 1, 2011

birthday cake

soft-marshmallow
The fantasy (above) and the reality (below).
I made a cake for nine year olds birthday.  It was chocolate with strawberry icing, and I made a magazine collage decoration for the top.

alas, when I lit the candles on the cake and walked from the kitchen into the sitting room, the candles set fire to the decorations head.  Hmm, should of thought of that one.  Hence the strange "bite mark".  But anyway this caused some hilarity and nine year old was still happy with the decoration so all good.  

Sunday, September 4, 2011

paper garlands


I have had some productive days in the garden recently, and it is almost, almost, not such a mess any more.  I have weeded and mulched, weeded and mulched and moved a few grasses around. Today more weeding and mulching and also managed to get some making done, of paper garlands, which was quite satisfying.  The creative urges must be satisfied occasionally.  These were made from magazine pages cut out with my new circle cutting gadget which is just splendid.  The idea was taken from a magazine Christmas issue maybe Inside Out.  It was a few years ago now so I'm not entirely sure.
 (above) Bunting made from magazine pages now decorating my daughters bedroom.  The photos from magazines make such lovely decorations with all their variations in colours.
 r and g cut out and stitched together tons of circles. A table full of circles.


 I love how they get on with these things all by themselves quite happily.  It's very satisfactory.
It came out very long and very pretty.


(above) I cut out not so many and stitched them together slightly differently,  a circle on both sides with a layer of tissue paper in the middle 
I chose pretty pink, red, green, blue, yellow, black and some neutral  colours  It looks so pretty in its little 3D way.  It is a present for a friend so I hope she likes it as much as I do.

Thursday, May 19, 2011

birthday cake decorations

I thought this was such a good idea, making cake decoration out of paper, none of that fiddling around with icing and mini rolling pins, to make something that you wouldn't eat anyway.  All those grimy hands rubbing that icing around. 
And you can use anything I suppose, lace, glitter, paint, doily's, endless possibilities 
And anyway it was my husbands birthday today, he's not that keen on cake, or lacy, doily hearts, but we have two daughters and myself who need there to be a cake on a birthday.  So I took some inspiration from above cakes and tried to make a boy version.  So I painted/drew these little cartoons of him, being active and going crazy with the computer for work.
I cut the pictures out stuck them onto cocktail sticks and poked them into the cake.  And I put in some little hearts just because I could.  (It is not displayed very beautifully as he is a boy and he doesn't care about such things.)

Tuesday, May 10, 2011

paper cuts


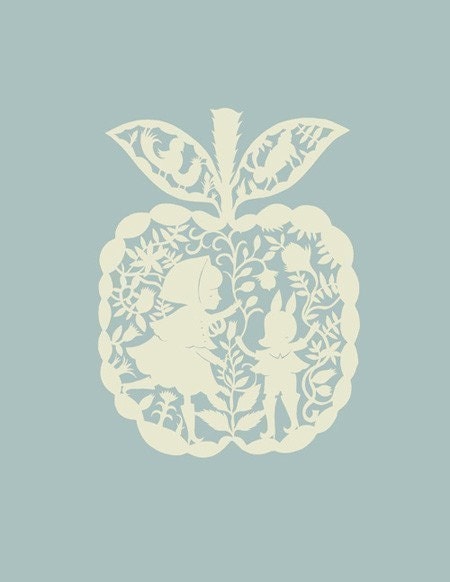
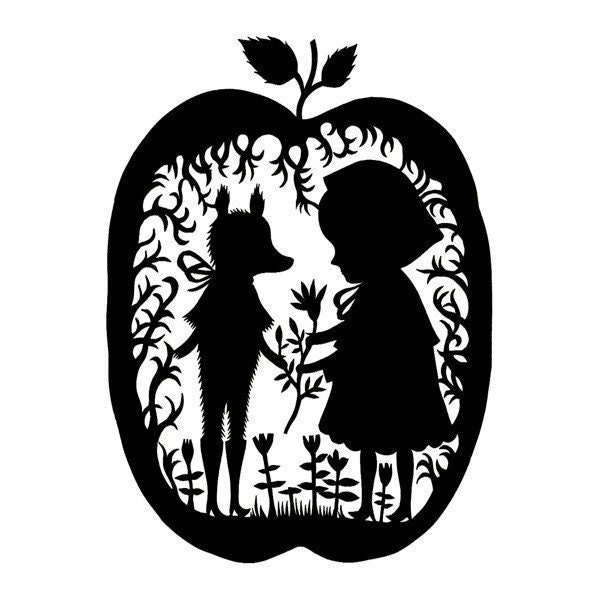
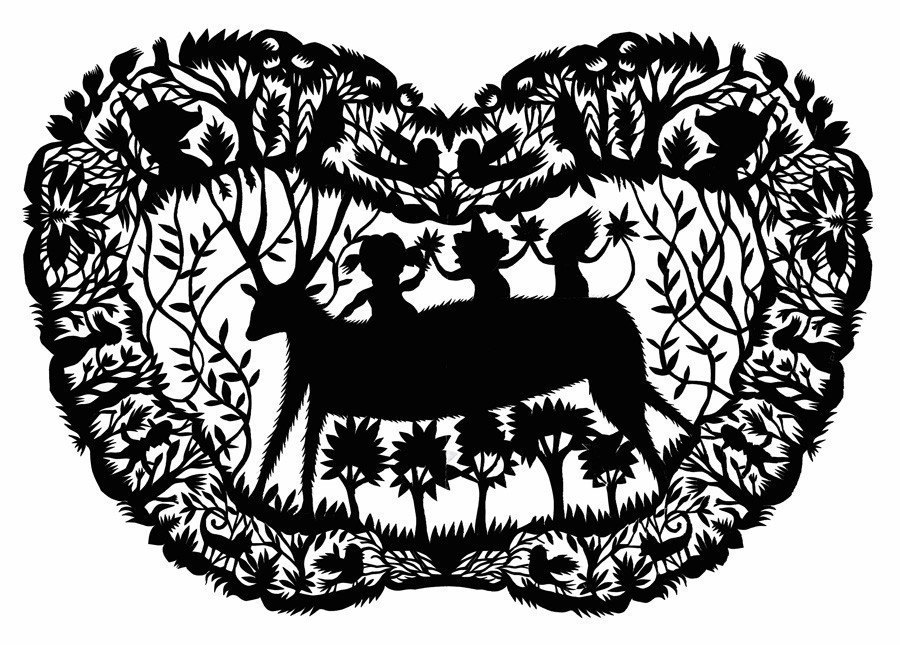
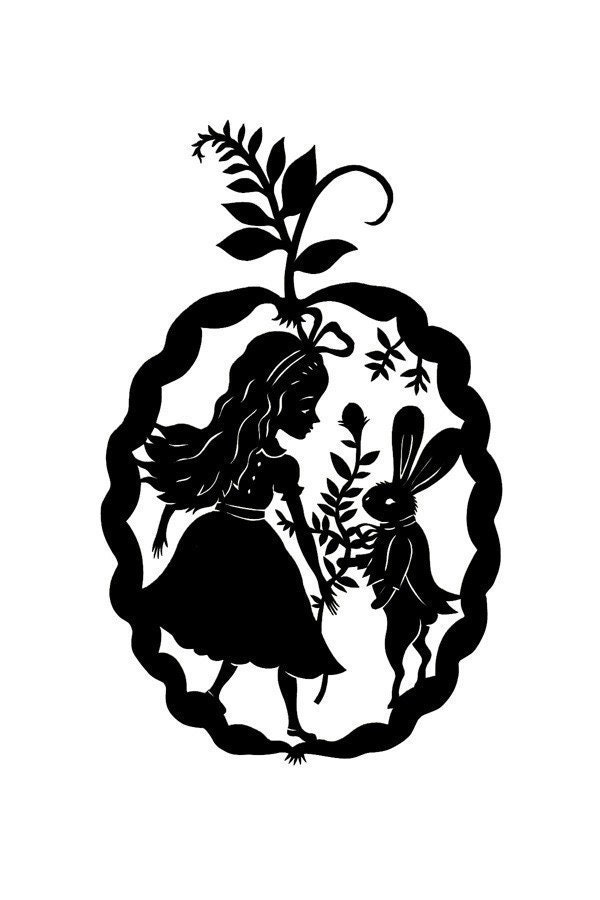
These are pretty cute.  I am rather keen on little red riding Hood at the moment.  I like their dark but sweetness, these are by elsita and this is a link to her etsy shop, where there is more of this plus some other cleverness.  Must be very patient to do this, I am sure I would get near the end of the cutting after hours of sweating over a craft knife and end up chopping off something frightfully important and being a bit cross!  And I would never try again.  In the early 1990s we shared a house with a fabric design student  named Deborah, she lived in the basement ( known as the dungeon) she did the most amazing paper-cuts in the most incredible detail and put them onto the velvet with the see-through bits.  I wonder what ever happened to her?